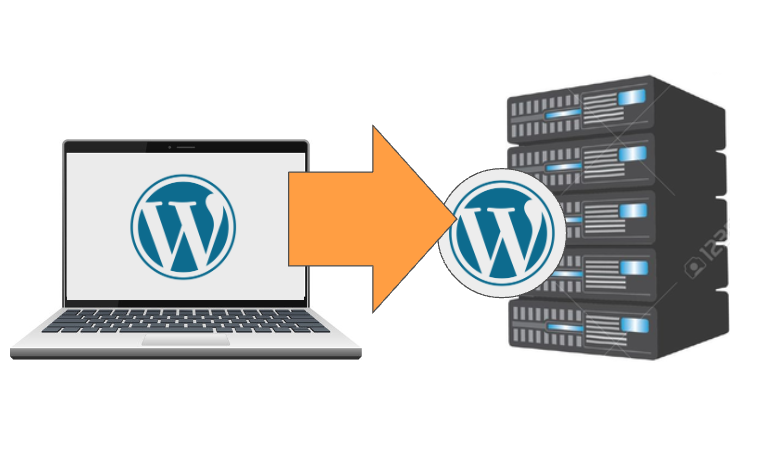
Something I had not done in years. Last time I did, WordPress didn’t have so many plugins for everything and migrating was mostly a manual process. I figured time changes and it would be easier to use a plugin and 2 clicks… Oh boy was I wrong.
The Migration Plugins I tried so you can spare yourself
I won’t review them in details, but give you my general sentiment which was pretty much the same for all. They have different logic, backup systems, restore, useless feature, storage etc. but ultimately none would let you migrate a simple WordPress for free or easily. I almost succeeded with Duplicator but a random error kept popping up. That’s when I decided to stop trying.
The ol’ manual way
After I decided to migrate manually, it took me about 7 minutes which is a fraction of the time I spent trying to make those greedy plugins to work without sucking $50 a year (or more) out of my pocket to migrate two micro websites.
Since I could not find the information easily, I decided to write it so it might help even one person someday. Migrating wordpress manually is fairly easy assuming you understand the basics (if not you might learn!).
Here’s how to migrate WordPress to a new host manually, step by step:
Step 1: Backup your database
your host should provide you an access to phpmyadmin. From there you just have to select your database on the left rail (not just a table) and click “Export > Go”
The “quick” option is usually good enough but if you’re using the same database for multiple projects, you can always select “custom” and pick only the tables you want.
It’ll download a SQL file that contains all your data! (it’s a good idea to create backups every week)
If for some reasons you’d prefer using a plugin, UpdraftPlus mentioned above is actually pretty decent to do that.
Step 2: Prepare your wp-config.php file
You should have access to your files, either through FTP or just on your disk if hosted locally. There’s one file, located at the root, that’s very important because it contains the access information to your database: wp-config.php
It’s best to leave your original file as is so you will still have access to your website, so duplicate the file and give it a name easy to remember e.g. wp-config-new.php and open it in an editor.
Those are the lines you need to edit:
/** The name of the database for WordPress */
define( 'DB_NAME', 'database_name_here' );

/** Database username */
define( 'DB_USER', 'username_here' );

/** Database password */
define( 'DB_PASSWORD', 'password_here' );

/** Database hostname */
define( 'DB_HOST', 'localhost' );
Your new host should provide you that information. If you’re installing it locally, you can get it or create it directly in phpmyadmin.
If you’re using the same database, for multiple installations make sure your table prefix is unique to that website. If it needs to be changed because tables with that prefix already exists, you don’t want them to be overwritten and you need to change that line in the wp-config.php
$table_prefix = 'wp_';but also change the name of all your tables. I would do it before step 1 so it’s easier.
Here’s a guide by wpmarmite on how to change the prefix, I checked the content and it’s legit 👍
Step 3: Backup your data
You have your database, you know where are your files and you have all the login information. That was the hardest part.
You want to compress the whole content of the wordpress directory in a .tar.gz format.
If hosted locally, that’s easy (I’m using 7zip):
- select everything, right click, add to archive, create a tar file.
- right click again, compress, gzip.
- done. you should have a file named ‘{something}.tar.gz’
If hosted on a server, you might be able to do something similar with whatever file explorer your host has but the best option is to connect via SSH (again, check with your host how to do that). I’m using Putty on my Windows machine. On Mac you can just use the terminal. Here are the command to compress your data:
tar -czvf filename.tar.gz /path/to/wordpressEasy and dirty: Just drag and drop all your data from wherever it is to the new location. It’s not the most optimal option as it’ll try to move thousands of files but that’s certainly the easiest. (if it doesn’t stop in the middle…). If you do that, skip Step 4
Step 4: Import your data
Add the file to your new host, in the directory where you want your wordpress to be installed and extract your file with the following command:
tar -xzvf filename.tar.gzRead Also: More details about the tar command (geeksforgeeks)
Step 5: Import your database
ok, now you have a backup of both your data and database, let’s start with importing the database. You need access to the phpmyadmin of your new host, select the database (the same one that’s in your wp-config-new.php). Click Import, pick your backup, Go.
Step 6: Final steps
Go to the root of your newly installed wordpress directory, rename your ‘wp-config.php’ to something else e.g. wp-config-old.php and rename ‘wp-config-new.php’ to just ‘wp-config.php’
if your hostname changed (e.g. local to online, or new domain) you need to go to phpmyadmin and change the value of ‘siteurl’ and ‘home’ in your {prefix}_options table
That’s it! easy and free.
Was this helpful?
0 / 1